Event Audio Recording: 7 Techniques for Small Crews
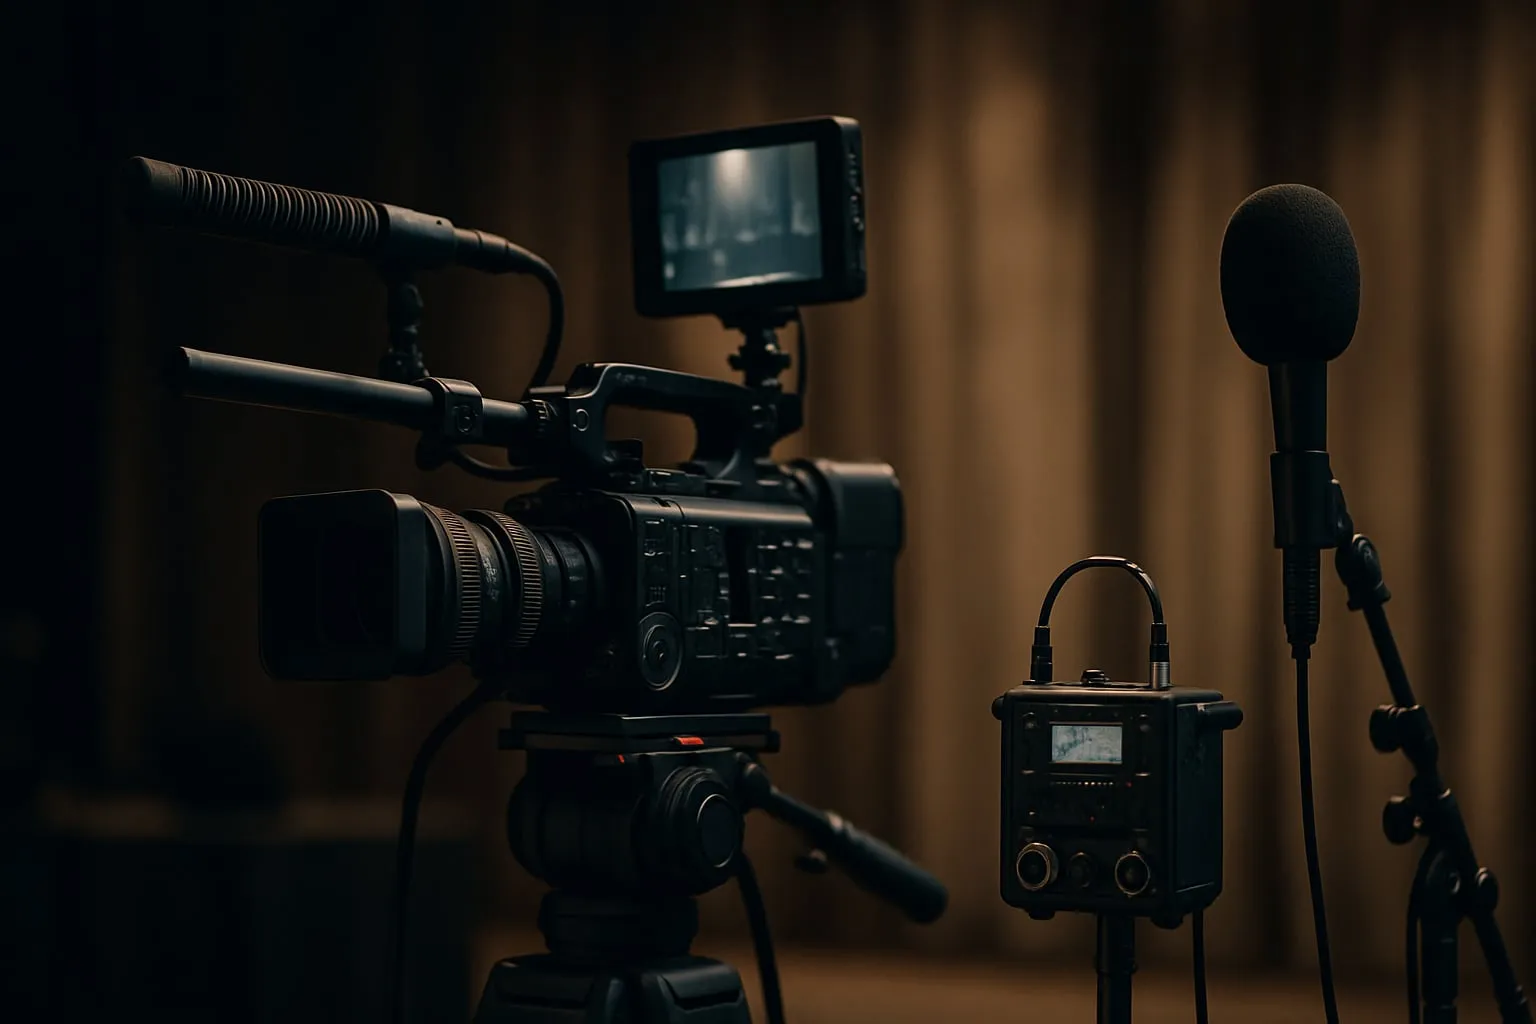
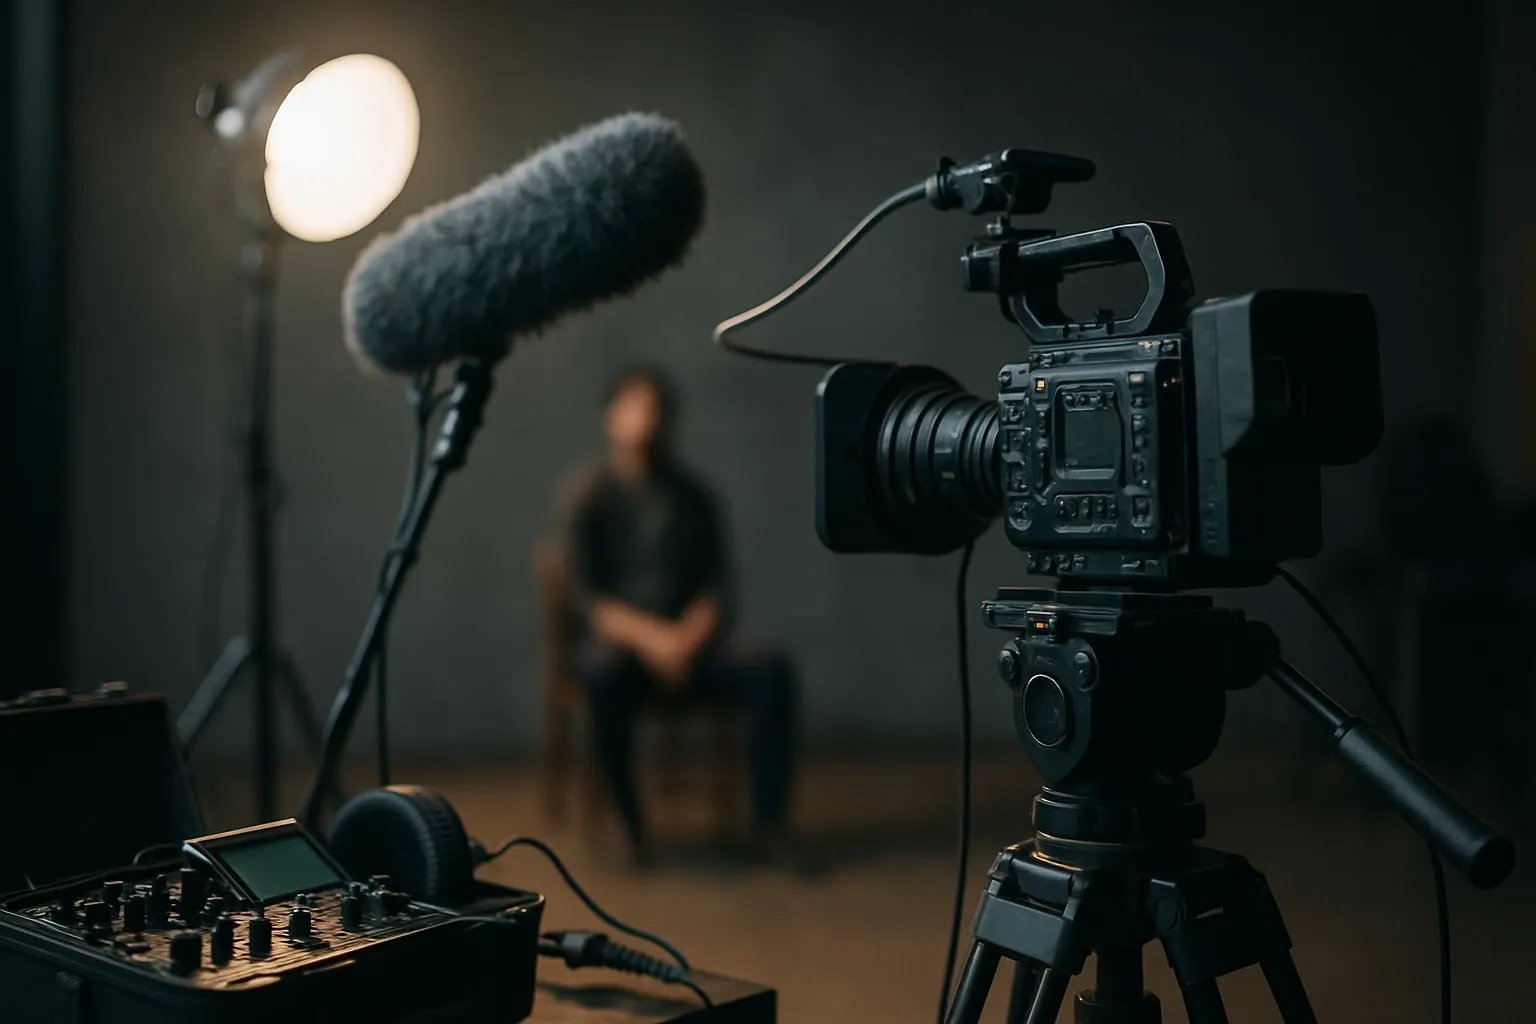
Event Audio Recording for a two- or three-person crew works best with a short signal chain, isolated backup tracks, and a repeatable pre-show check. Record the main sources on a field recorder, send a safe feed to camera, place microphones close to the speaker, and test wireless links before guests enter the room.
This workflow reduces dropouts, limits room noise, and gives the editor separate tracks instead of one damaged mix. The settings below suit conferences, interviews, panels, small concerts, and livestreams.
Quick checklist before load-in
- Set every recorder and camera to 48 kHz / 24-bit. Format the memory card in the device that will record to it.
- Give each important source two recording paths, such as a field recorder plus camera input.
- Pack enough batteries for twice the planned runtime. Wireless transmitters often run out first.
- Bring a lavalier, a short shotgun, and a stereo or ambient microphone for room sound.
- Label cables and prepare a patch sheet with channel numbers, microphone names, and notes.
Make a one-minute test recording before the crew leaves the prep area. Play it back through headphones. This catches a muted channel, a bad cable, or a card error before those problems reach the venue.
What are the seven best techniques for small-crew event audio?
1. Build the workflow around the field recorder
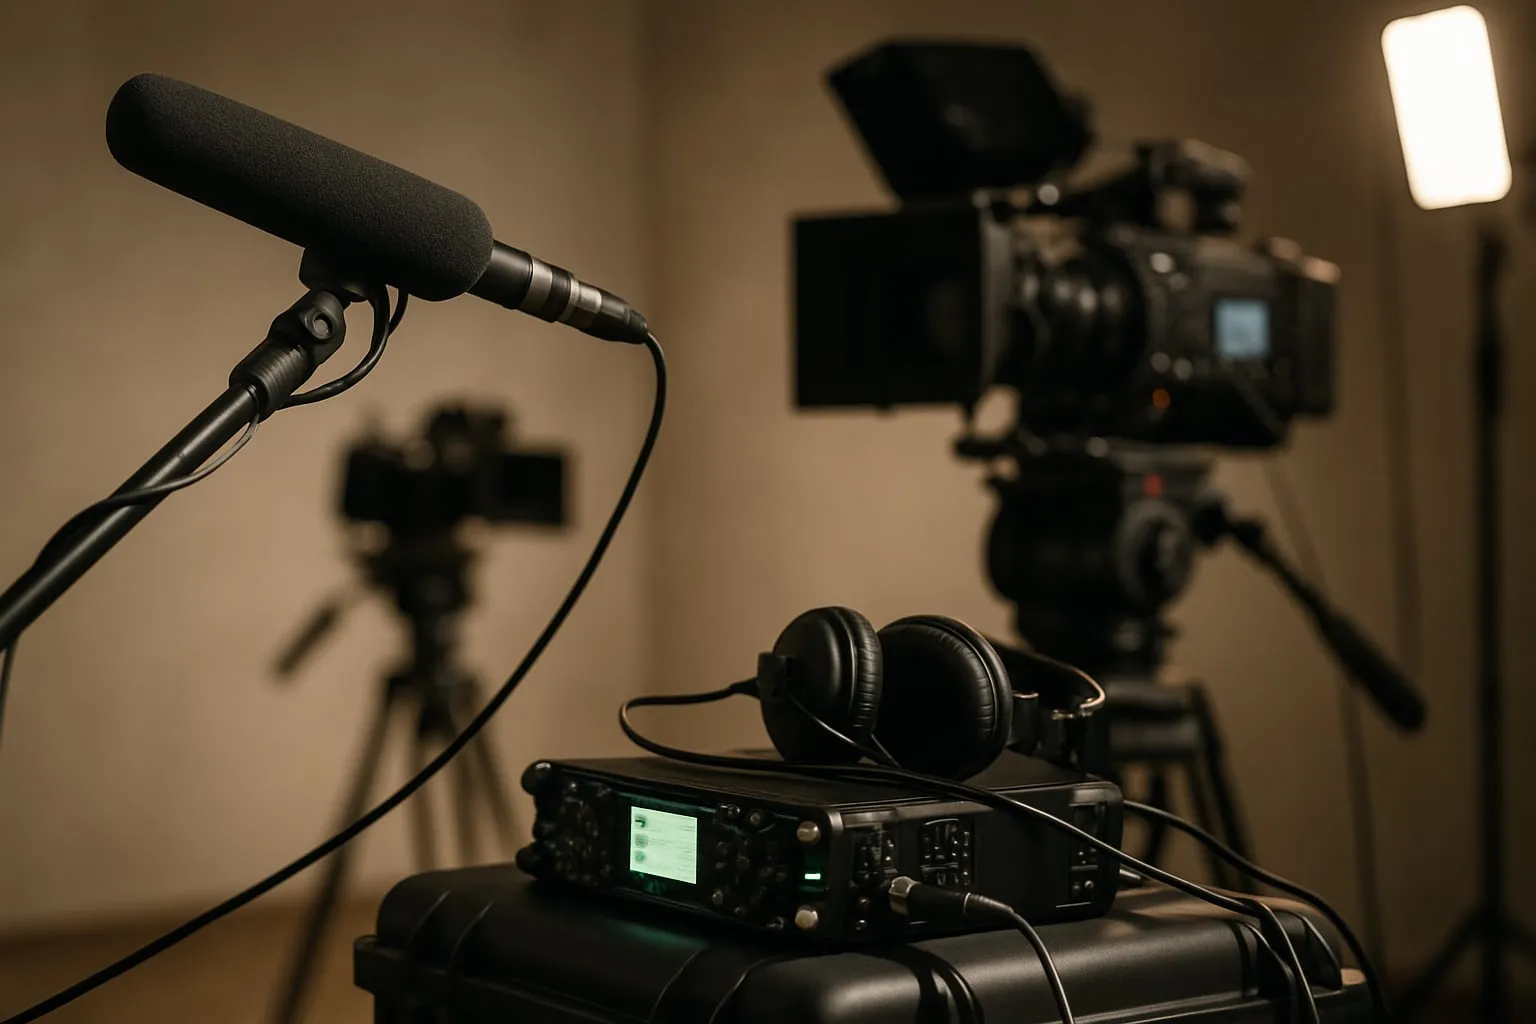
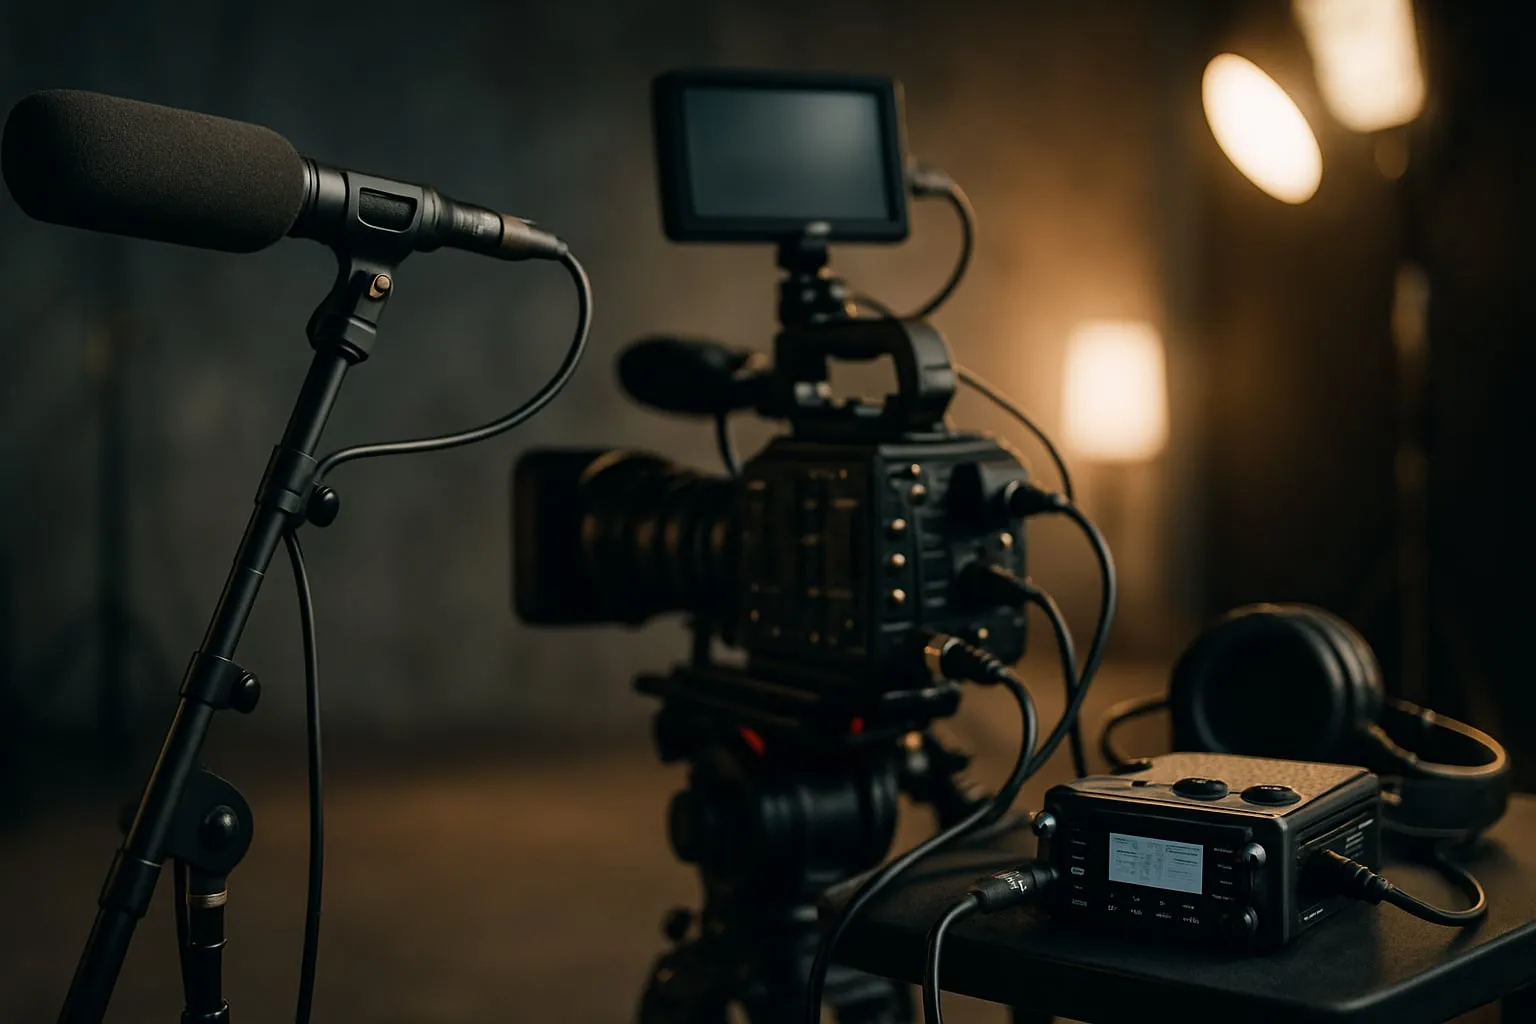
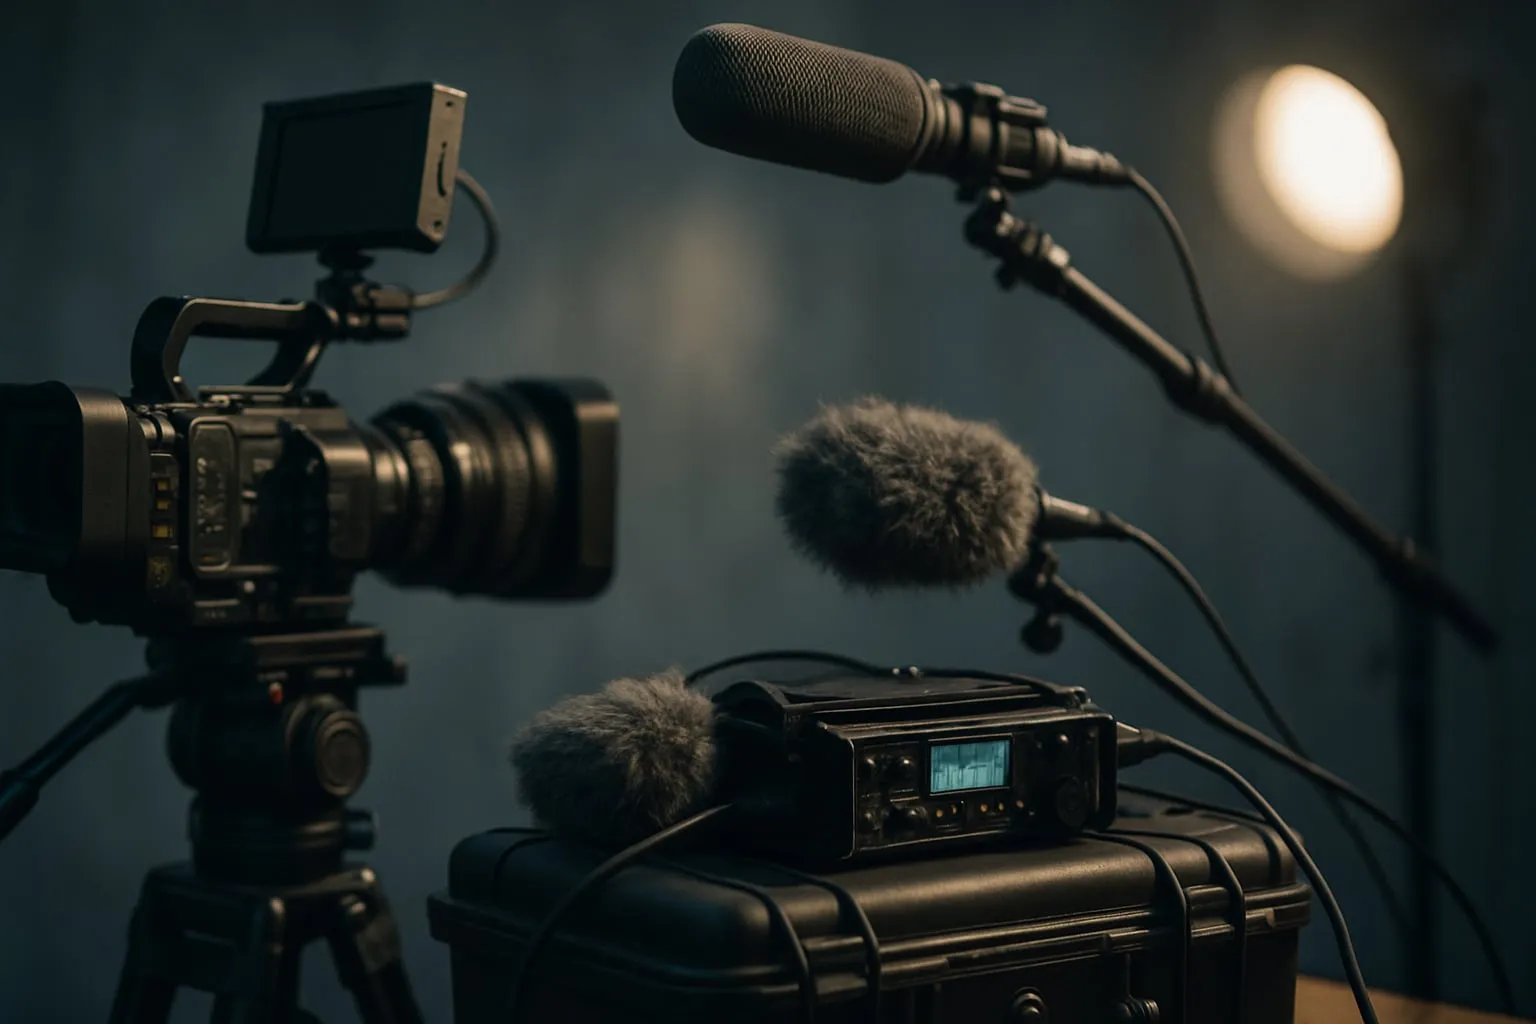
Use a field recorder as the primary source and send a controlled feed to the camera for sync and backup. A recorder such as the Sound Devices MixPre series or Zoom F6 gives you separate gain and track control, while the camera receives a simpler reference feed.
Keep spoken-word tracks around -18 to -6 dBFS, with peaks below 0 dBFS. Send the camera feed at about -12 dBFS, then confirm the camera input is not applying automatic gain control. The setting that often gets missed is the camera's headphone output, which can sound healthy even when the input is clipping.
2. Record critical sources twice
Redundant recording protects the speech that cannot be recreated. Record each important lavalier or direct feed on the primary recorder and a second device, or use separate tracks and a camera feed when the equipment does not support dual recording.
For two speakers, keep each lavalier isolated on its own track. Send a summed mix to the camera only as a safety copy. If one wireless pack drops out, the other speaker's track stays usable, and the editor can replace the damaged section with room tone.
3. Fix microphone placement before adding gain
Microphone distance affects noise more than another 6 to 12 dB of preamp gain. A lavalier placed 15 to 20 cm below the chin usually gives clearer speech than one hidden near the waist, where clothing noise and room sound become harder to control.
Center the lavalier capsule on the clothing when possible, secure the cable with a small loop, and check for necklaces, lanyards, and jacket friction. For a seated interview, place a short shotgun 30 to 60 cm from the speaker on a boom, aimed at the upper chest. The boom operator should watch the frame edge because a perfect audio position is useless if the microphone enters the shot.
4. Plan wireless frequencies during load-in
Scan the venue before the audience arrives, then assign compatible frequencies to each transmitter. Keep transmitters and receivers in their working positions during the test. A scan performed beside the mixing table may miss interference that appears backstage or across a long conference room.
Listen for intermittent crackle, brief mutes, and sudden changes in noise floor. Carry one wired lavalier and fresh batteries for every wireless pack. With digital systems, confirm the receiver's output format, including AES or analog output, and monitor the actual feed entering the recorder.
For a controlled shoot in São Paulo, you can also plan around the room before booking the crew. For example, Galeria Ricardo Von Brusky on Localcine can be evaluated for microphone positions, cable runs, and ambient noise during a technical visit.
5. Label every channel as you connect it
Write the channel name on tape as soon as each cable is plugged in. A useful patch sheet might read: channel 1, Speaker A lav; channel 2, Speaker B lav; channel 3, boom; channel 4, room pair. This prevents the common handoff problem where an editor receives “Audio 1” through “Audio 4” with no source information.
Record start and stop times, pad settings, high-pass filters, and any wireless interruption. Keep the sheet beside the recorder, not in a case that gets packed before the final file check. If a producer asks about a moment from the show, timestamps and source names should let you find it in under a minute.
6. Capture room tone and controlled ambience
Record 30 to 60 seconds of room tone at the program's normal level. Leave the audience and HVAC in their usual state, ask the crew to stop talking, and keep every microphone in its working position. Room tone gives the editor material to smooth cuts and repair short gaps.
For a concert, record a stereo pair near the mixing position and a close microphone on the lead vocal when the setup allows it. A front-of-house feed can sound balanced in the room but fail in the edit because it lacks audience perspective or changes with the venue mix.
7. Run a five-minute pre-show check
Use the same short checklist at every event. Complete it before doors open, when you can still replace a cable or move a receiver without interrupting the program.
- Confirm 48 kHz / 24-bit settings, folder names, timecode or sync method, and available card space.
- Check that each critical source is recording on two paths.
- Verify batteries show at least 80 percent and keep replacements within reach.
- Make a one-minute recording, then play it back through headphones.
- Listen for phase problems between microphones, especially on a stereo pair or a lavalier mixed with a boom.
Do not skip playback. Meters can move while a channel is routed to the wrong bus, recorded at the wrong level, or missing from the file.
What gear does a small event audio kit need?
| Item | Use | Trade-off |
|---|---|---|
| Two- to six-channel field recorder | Primary isolated tracks and gain control | More setup than recording straight to camera |
| Two wireless lavalier systems | Speech from presenters and interview subjects | RF coordination and battery checks are required |
| Short shotgun, boom, and shock mount | Close backup for interviews and stage speakers | Needs an operator or a secure stand outside frame |
| Wired lavalier and spare cables | Backup when a wireless link becomes unreliable | Visible cable runs may limit placement |
| Stereo pair or ambient microphone | Room tone, audience response, and concert perspective | It also captures HVAC and venue noise |
A mixed new-and-used kit can stay below about $2,500, depending on the recorder, wireless system, and local rental rates. Buying used wireless equipment requires extra care: check battery doors, antenna connectors, frequency bands, and whether the system is legal for the region where you will work.
Renting makes more sense for a one-day event or an unfamiliar venue. Casa Primavera on Localcine is a practical place to compare a recorder, wireless packs, and a boom setup before committing to a purchase. Run the complete kit during rehearsal, including the camera feed and playback check, because a rental that works on the bench may fail when receivers are separated by walls or people.
How should you hand off event audio to the editor?
Deliver one clearly named folder with isolated tracks, the reference mix, and a cue sheet. Use filenames that identify the event, date, source, and take, such as Conference_2025-03-14_SpeakerA_Lav.wav. Keep the original recorder folder intact until the editor confirms the backup exists.
Include these handoff details:
- Sample rate, bit depth, frame rate, and sync method.
- Track names and microphone positions.
- Start and stop times for the program and room tone.
- Problems with timestamps, RF dropouts, clothing noise, or clipped sections.
- A one- to two-minute reference mix showing the preferred levels and takes.
The reference mix helps the editor understand your choices, but it does not replace the isolated tracks. Note an issue precisely, such as “wireless dropout on Speaker B at 00:24:10,” instead of writing “some RF problems.”
If you are testing a phone-based camera workflow alongside the audio kit, this guide to smartphone filming, framing, and sound covers the camera-side setup. For a festival submission workflow, this smartphone short-film guide for festivals is the more relevant reference.
Final field checklist
Before the first speaker begins, confirm the recorder path, backup path, microphone position, wireless status, labels, room tone, and playback test. These seven habits keep a small crew from solving preventable problems during the show and give the editor clean, clearly documented audio at handoff.